
How to Install a Smart Thermostat Without a C Wire
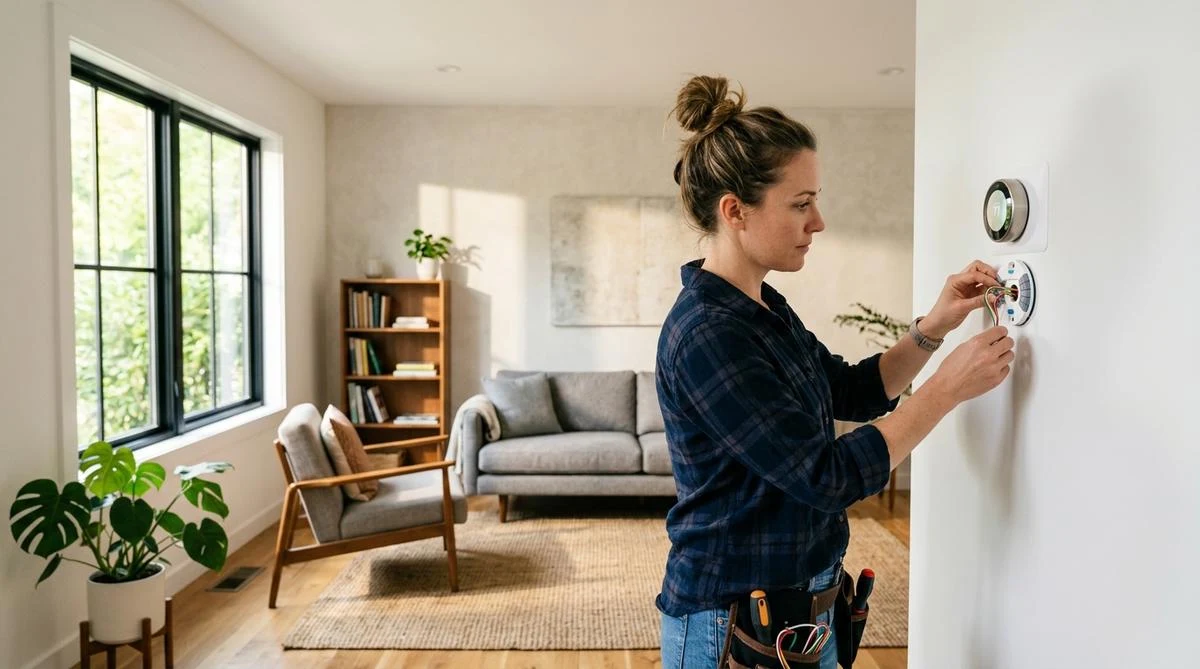
You bought a new smart thermostat, pulled off the old one, and now you are staring at a bundle of wires with no C wire in sight. The installation app is telling you the device will not work. This happens constantly, and the fix is usually much simpler than the troubleshooting forums make it sound.
Here is where you actually stand: four real options exist. You can repurpose a spare wire already sitting in the wall, rely on the thermostat's built-in power harvesting if it supports that, install a C wire adapter kit (such as the Nest Power Connector or the Ecobee Power Extender Kit), or run fresh thermostat cable. Most households land on option one or two without buying a single new component.
Why Your Smart Thermostat Needs the C Wire
The C wire completes a 24-volt AC circuit between the HVAC control board and the thermostat. Traditional thermostats got by on almost no power; they borrowed tiny amounts of current through the heating or cooling signal wires, which was enough for a basic dial or a simple programmable display.
Modern smart thermostats are a different animal. They maintain Wi-Fi connections, power color touchscreens, run humidity sensors, and talk to remote apps around the clock. That kind of continuous operation demands a dedicated, steady source of current. Without the C wire providing a reliable return path, you end up with flickering screens, Wi-Fi that drops out every few hours, and a thermostat that charges and discharges its internal battery in a cycle that can actually trigger short-cycling on your furnace or air handler.
The C terminal on your furnace control board almost certainly exists. The question is whether a wire was ever run from that terminal to your thermostat location.
First: Look for a Spare Wire in the Wall
Before spending any money, remove the thermostat from the wall and count every wire in the cable bundle. HVAC contractors regularly pull 5-conductor or 8-conductor cable even when the old thermostat only used four connections. The extra conductors get coiled up and pushed into the wall cavity.
What you are hunting for:
- A conductor with no terminal attached on the old thermostat
- Often blue, but possibly brown, orange, or any color that is not already claimed by the existing hookups
- Verify it goes all the way to the furnace by checking the control board for a matching loose conductor
If you find one, connect it to the C terminal at the thermostat end and the C terminal at the furnace board. Done. You now have a working C wire at zero cost and zero extra hardware.
At the furnace board, the terminal strip is labeled directly on the board. Power comes in on R, the fan runs off G, cooling calls go to Y, and heat stages go to W. The C terminal closes the circuit. Labels vary slightly between brands but remain close enough to read without pulling up a manual.
Does Your Thermostat Handle It on Its Own?
Several popular smart thermostats sidestep the C wire situation entirely through power harvesting, sometimes called power stealing. The Google Nest Learning Thermostat and Nest Thermostat E both use this approach. Ecobee takes a different path and uses its PEK adapter instead.
Power harvesting works by drawing tiny amounts of current through the R conductor during brief moments when the HVAC system is idle. That trickle charges an internal capacitor, which keeps the thermostat running between those sips of power. It works reliably across a wide range of homes but causes headaches in specific situations.
Where power harvesting tends to break down:
- Homes with a shared transformer that also powers a zone controller or other HVAC accessory
- Heat pump setups that use an O/B reversing valve wire, leaving fewer conductors available for the harvesting trick
- High-efficiency furnaces that run long continuous cycles, reducing the harvesting windows the thermostat needs
If your furnace or air handler is a standard single-stage or two-stage unit under 15 years old, power harvesting usually handles things fine. Run it for a full week before deciding it is not going to work.
Installing a C Wire Adapter Kit
No spare wire, and power harvesting is causing trouble? An adapter kit is the cleanest solution that avoids running new cable through your walls. These kits run $15 to $40 and take about half an hour to install.
The main options on the market:
- Google Nest Power Connector ($25) - made for Nest thermostats specifically, clips onto the furnace board and generates the C wire signal without needing a dedicated conductor
- Ecobee Power Extender Kit (PEK) (included with Ecobee devices) - installs at the furnace board and converts a four-wire system into one that works with Ecobee's five-wire requirement
- Venstar Add-A-Wire ($15) - brand-neutral, works across most systems, encodes two signals on one conductor to turn a four-wire run into a functional five-wire setup
Installation for all three follows the same general pattern. Kill power to the furnace at the breaker, disconnect the thermostat conductors from the existing board terminals, hook them to the adapter module, then connect the adapter's output back to the board. The adapter handles the rest.
One thing to confirm before ordering: heat pump compatibility. Heat pump systems use a reversing valve terminal (O/B) that some adapters do not support. Check the manufacturer's compatibility page or the product listing before purchasing if you have a heat pump.
How to Do the Actual Thermostat Installation
Once you have a C wire signal by whatever method, the physical installation process is the same across all smart thermostats.
- Kill power at the breaker. The wiring runs at 24 volts AC, not the full household 120V, but shorting terminals on a furnace control board can destroy the board. This step is not optional.
- Photograph the existing wiring before touching anything. Every conductor, every terminal letter visible on the old thermostat. This is your fallback reference.
- Remove the old thermostat from its wall plate. Most snap off; some have small screws at the top and bottom edges.
- As you pull each conductor off the old terminals, stick a small piece of painter's tape on it and write the terminal letter (R, G, Y, W, C) on the tape. The colors can be misleading; the letters are the reliable reference.
- Mount the new thermostat's wall plate and run the conductors through. Use a small level if you want it to sit straight.
- Connect each labeled conductor to the matching terminal on the new thermostat.
- Attach the thermostat to the plate, restore power at the breaker, and work through the setup app.
During setup the app will walk you through confirming which terminals you connected. Match your tape labels to the letters. If you used the Ecobee PEK, follow the wiring diagram that came in the PEK box rather than the standard diagram, because the PEK remaps a few terminals.
Option Four: Run Fresh Thermostat Cable
This is the permanent, no-compromise solution for any home where the existing cable truly has no spare conductors. It is also the most labor-intensive of the four options.
Thermostat cable is sold by the foot at Home Depot and Lowe's. For a standard single-stage gas furnace, 18-gauge 5-conductor cable (18/5) covers everything you need and leaves one conductor spare for future use. Heat pump systems should go with 18/8 to accommodate the extra terminals.
The cable route runs from the thermostat wall location, through interior wall cavities, and down to the furnace closet or mechanical room. In a ranch-style home with attic access above the thermostat wall, this is a couple of hours. In a multi-story home with the thermostat on an upper floor and the furnace in a basement, the job gets considerably more involved.
An HVAC technician will run new cable in about an hour. Most shops charge $75 to $150 for the job. If your home has fully finished walls with no attic or crawlspace access, paying someone who does this daily is a reasonable call.
Still Having Problems After the Install?
If the C wire is in place but the thermostat is still misbehaving, check these specific things.
Low transformer voltage. The C wire provides the return path; the R conductor pulls from the transformer. A transformer putting out below 24 volts under load will cause erratic behavior. Grab a $10 multimeter, set it to AC voltage, and measure between R and C with the system running. A healthy reading is 24 to 28 volts.
Loose connection at the furnace board. Thermostat conductors are thin and the screw terminals on furnace boards are small. Check that each conductor is stripped back enough, seated fully in the terminal, and the screw is tightened down firmly. A conductor with only one strand making contact will fail intermittently and be nearly impossible to diagnose remotely.
Wrong thermostat model for a heat pump. Heat pump systems need a thermostat with heat pump mode, which manages the O/B reversing valve terminal. Standard thermostats lack this terminal entirely. The Nest Learning Thermostat, Ecobee SmartThermostat, and Emerson Sensi Touch 2 all support heat pump systems. Verify before purchasing.
Overloaded shared transformer. Some homes have a Honeywell zone board, whole-house humidifier, or UV system sharing the same 24V transformer as the thermostat. Adding a smart thermostat's constant power draw on top of those accessories can push the transformer past its capacity. The fix is a separate plug-in 24V AC adapter dedicated to the thermostat circuit.
Best Smart Thermostats If You Want to Avoid the C Wire Problem Entirely
If you have not purchased a thermostat yet and want to skip the C wire question, a few models handle it natively.
The Google Nest Thermostat (the lower-cost round version, distinct from the Nest Learning Thermostat) connects on R, G, Y, and W alone and handles its own power internally. Setup takes about 20 minutes through the Home app and the interface is about as clean as thermostat UIs get.
The Emerson Sensi Touch 2 is compatible without a C wire in most single-stage systems and supports Alexa, Google Home, and Apple HomeKit simultaneously. At around $130 it sits between the budget Nest and the premium Ecobee.
The Ecobee SmartThermostat Enhanced ($190) ships with the PEK adapter in the box, so you are covered no matter what wiring you have. It also includes a room sensor that helps balance temperatures across rooms, which is genuinely useful in houses with hot and cold spots.
FAQ: Smart Thermostat Without C Wire
Can I just try installing it without a C wire and see what happens?
Yes, and in many homes it works without any issues. Thermostats with power harvesting built in handle the situation automatically. If your furnace starts short-cycling (running in brief bursts) or the Wi-Fi connection drops every day, add the C wire at that point. No harm done by trying first.
What if only two wires run to my thermostat?
A two-wire setup is almost always a heat-only system with no cooling. Your options narrow to: a thermostat with power harvesting, a 24V plug-in adapter at the thermostat location, or running new cable. The Nest Thermostat handles basic two-wire heat-only installs reasonably well.
Can I trust wire color to know what each conductor does?
Partially. There are widely followed color conventions but no binding standard. Installers do not always follow them, especially on older homes or mid-job cable substitutions. Always confirm terminal assignment by reading the letter on the old thermostat, not by guessing from color. When in doubt, trace the conductor to the furnace board and read the terminal label directly.
Will a smart thermostat actually cut energy bills?
Real-world data from Nest and Ecobee puts the typical savings at 10 to 15 percent on heating and cooling costs. The savings come from schedule-based setbacks, geofencing (pulling back when the house is empty), and pattern learning. On a $200 monthly utility bill, that is $20 to $30 per month, enough to recover the thermostat cost within one heating season.
Is this a safe DIY project for a non-electrician?
Yes. Turn off the breaker first, and the risk profile drops to near zero. Thermostat wiring runs at 24 volts AC, not the 120V or 240V circuits that actually present electrocution danger. The main risk is accidentally shorting two terminals simultaneously on the furnace control board, which can pop a fuse or damage the board. Work slowly, never let bare wire ends touch while the power is on, and you will be fine.
The whole job goes faster once you realize it is really just about knowing which of the four options fits your situation. Start by checking for a spare wire. Most of the time, the answer to your C wire problem is already sitting in the wall, coiled up and waiting.
Post a Comment for "How to Install a Smart Thermostat Without a C Wire"
Post a Comment