
How to Use a Brad Nailer for Trim Work
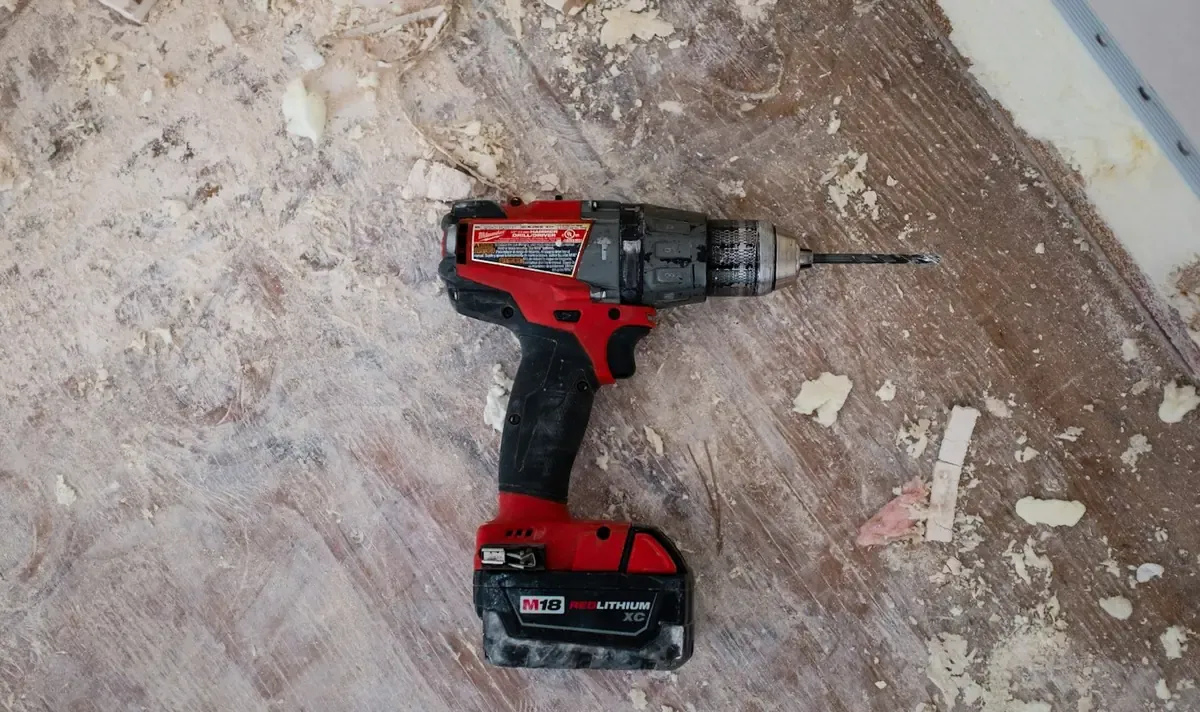
A brad nailer turns a full day of hammering and swearing into about two hours of clean, satisfying work. If you have baseboard, crown molding, or window casing on your to-do list, this is the tool that makes the whole job feel almost too easy. Here is exactly how to use one, what nails to buy, and the mistakes that trip up first-timers.
What a Brad Nailer Actually Does
An 18-gauge brad nailer shoots thin, nearly headless fasteners between 5/8 inch and 2 inches long. Because these brads are skinnier than regular finish nails, the holes they leave behind are so small you can barely see them across a room. The whole point of this tool is pinning lightweight trim, thin moldings, and decorative wood pieces without cracking or splitting anything.
You will find three types on the market: pneumatic models that need an air compressor, battery-powered cordless units, and plug-in electric versions. As of 2026, cordless options from DeWalt, Milwaukee, and Ryobi have improved enough that hauling out an air compressor feels like overkill for most home trim jobs. Budget $150 to $280 for a cordless 18-gauge model depending on which brand you prefer. Not dragging an air hose through the house is worth the premium on its own.
One thing to get straight right away: a brad nailer is not an all-purpose power tool. It will not frame a wall. It will not attach heavy shelving. It fires thin fasteners meant for trim, and trying to use it for structural work is how people end up with baseboards falling off the wall at 3 AM.
Brad Nailer vs. Finish Nailer: Pick the Right One
This is where most beginners get confused. A brad nailer uses 18-gauge nails. A finish nailer uses 15-gauge or 16-gauge nails, which are thicker and stronger. Here is a quick breakdown:
| Feature | Brad Nailer (18-gauge) | Finish Nailer (15/16-gauge) |
|---|---|---|
| Nail thickness | Thinner, nearly headless | Thicker, small head |
| Holding power | Light to medium | Medium to strong |
| Best for | Thin trim, shoe molding, small casing, craft projects | Thick baseboards, crown molding, door frames, cabinets |
| Splitting risk | Very low | Moderate on thin stock |
| Hole size left behind | Tiny, often invisible | Small, needs wood filler |
| Price range (cordless, 2026) | $150 to $280 | $200 to $350 |
If your trim pieces are 1/2 inch thick or thinner, go with the brad nailer. For baseboards thicker than 3/4 inch or crown molding in hardwood, a 16-gauge finish nailer gives you the holding strength you actually need. Many DIYers end up owning both, and honestly, that is the right call if you do trim work more than once a year.
What You Need Before You Start
Gather everything before you begin. Nothing kills your flow like three trips to Home Depot mid-project.
- Brad nailer (cordless recommended for most homeowners)
- 18-gauge brad nails, 1-1/4 inch for thin trim, 2 inch for thicker baseboards. Buy a box of 1,000 for about $8 to $15.
- Safety glasses, non-negotiable. Brads can ricochet off knots.
- Tape measure and pencil
- Miter saw for cutting trim angles (a miter box and hand saw works for small jobs)
- Wood filler and a putty knife for hiding nail holes
- Painter's caulk for sealing gaps between trim and wall
- Stud finder (for baseboards, hitting a stud means a much stronger hold)
- Fine-grit sandpaper (220 grit) for smoothing filled holes before painting
Loading Your Brad Nailer the Right Way
Every brad nailer loads slightly differently, but the process follows the same pattern across brands.
1. Kill the power first. Pull the battery out, yank the cord, or unhook the air line. Skip this and you are gambling with a tool that can punch a nail through your hand faster than you can flinch.
2. Slide the magazine open. There is a spring-loaded gate on the bottom or side of most models. Pull it back until the follower plate locks out of the way, clearing the nail channel.
3. Drop in a nail strip. Brads ship in glued-together collated strips. Lay the strip into the channel with points aimed toward the nose of the gun. Everything should sit flat. If you have to force it, the strip is backwards or the wrong gauge.
4. Release the follower and close up. Let the spring plate push the nail strip forward into the firing position. You will hear a click or feel the follower seat against the last brad in the strip.
5. Power it back on and test. Reattach the battery or reconnect air, then pop a couple of test shots into a scrap board. If nails fire cleanly and the depth looks right, you are good to go.
Setting the Right Nail Depth
Depth control is where amateur trim jobs fall apart. When a brad pokes out above the wood surface, filler will not hide it and you have a visible bump. When it punches too far through, thin molding cracks or the nail blows out the back side.
Look for the depth adjustment dial near the nose of your nailer. Dial it to a middle setting, grab a piece of scrap that matches your actual trim thickness, and fire three or four test shots. The sweet spot is about 1/32 inch below the wood surface. That tiny pocket gives wood filler something to grip without leaving a visible crater after you sand it smooth.
Hardwoods like oak or maple need a deeper drive setting than softwoods like pine or poplar. Test on the actual material you are installing, not just any random scrap.
Nailing Technique That Looks Professional
Here is the actual process for installing trim with a brad nailer:
Position and hold the trim piece firmly against the wall. If you are working alone, use painter's tape or small clamps to hold the piece while you nail. Trying to hold trim with one hand and nail with the other is how pieces end up crooked.
Place the nailer tip where you want the brad to go. Press the safety contact tip flat against the trim surface. Most brad nailers have a contact-fire safety that requires the nose to be pressed against a surface before the trigger will fire. Do not try to "aim" from a distance.
Squeeze the trigger with a smooth, firm pull. No need to push hard. The tool does the work. Keep the nailer perpendicular to the surface, not angled, unless you are deliberately toe-nailing into a corner.
Nail spacing for baseboards: place a brad every 12 to 16 inches along the length, hitting wall studs whenever possible. At each end of the trim piece, put a nail about 1 inch from the edge. For joints where two pieces of trim meet (scarf joints or miter joints), add a brad on each side of the joint to keep the seam tight.
Nail placement for window and door casing: nail every 8 to 12 inches, placing brads about 3/4 inch from the inside edge and 3/4 inch from the outside edge in an alternating pattern. This creates a pinch that pulls the casing flat against both the jamb and the wall.
Avoiding the 5 Most Common Brad Nailer Mistakes
Mistake 1: Using nails that are too short. Your brad needs to pass through the trim and sink at least 3/4 inch into the wall material behind it. If your trim is 1/2 inch thick and you use 3/4 inch brads, you only have 1/4 inch of penetration into the wall. That is not enough. For 1/2-inch trim, use 1-1/4 inch brads minimum.
Mistake 2: Nailing into drywall only. Drywall has almost zero holding power. Whenever possible, locate wall studs with a stud finder and drive your brads into solid wood framing. For baseboards, this is especially important because people bump into baseboards with vacuum cleaners, shoes, and furniture legs constantly.
Mistake 3: Not testing depth on scrap first. Every wood species, every thickness, and every nail length combination behaves differently. Five test nails in a scrap piece takes 30 seconds and saves you from splitting your expensive trim.
Mistake 4: Nailing too close to the edge. Place brads at least 3/4 inch from any end or edge of the trim piece. Closer than that, and the wood splits. Hardwoods like oak are especially unforgiving here. If you need a nail near the very end of a piece, drill a pilot hole first with a 1/16-inch bit.
Mistake 5: Forgetting to check for plumb and level. A brad nailer fires fast, and that speed can trick you into nailing a piece that is not sitting right. Hold a level against the trim before driving the first nail. Once three or four brads are in, straightening a crooked piece means pulling them all out with pliers, and those tiny nails do not come out clean.
Finishing After Nailing: Fill, Sand, and Caulk
The nail holes from an 18-gauge brad nailer are small, but they are still visible on painted trim. Here is the finishing sequence:
Pack the holes with filler. Stained trim needs a stainable filler; painted trim works fine with standard wood putty. Press it in with a putty knife and leave a slight mound over each hole. A $6 tub of DAP Plastic Wood-X from Lowe's handles dozens of projects before running out.
Wait until it is fully cured. That takes 15 to 30 minutes at normal room temperature. Sanding wet filler smears it into the wood grain, so give it the full drying time.
Sand each spot level. A piece of 220-grit paper and a light touch is all you need. Wipe the dust away with a damp rag afterward.
Caulk the gaps. Run a thin bead of paintable caulk along the top edge where the trim meets the wall. Smooth it with a wet fingertip. This step is what separates a professional-looking install from a DIY-obvious one. The caulk fills tiny gaps caused by uneven walls and makes the trim look like it grew out of the wall.
Prime and paint. If the trim is pre-primed, you can go straight to paint. Two coats of semi-gloss latex paint with a good-quality brush gives the cleanest look. Spray painting is faster but creates overspray issues indoors unless you mask everything thoroughly.
Maintaining Your Brad Nailer
A neglected brad nailer jams constantly, and jams mid-project are the number one reason people throw these tools across the room.
- Clean the magazine after every use. Sawdust and tiny nail fragments accumulate and cause misfires.
- Oil pneumatic models before each use. Two to three drops of pneumatic tool oil in the air inlet keeps the internal seals healthy. Skip this and the O-rings dry out within a year.
- Store with an empty magazine. Leaving a strip of nails loaded compresses the feed spring over time, which leads to feeding problems.
- Check the driver blade once a year if you use the tool regularly. A worn or chipped blade causes nails to bend and jam. Replacement blades cost $8 to $15 for most models.
- Keep batteries charged (for cordless models). Lithium-ion batteries degrade faster when stored completely dead. Top off the charge every few months even if the tool sits unused.
Which Brad Nailer Should You Buy?
For most homeowners doing occasional trim work, here are three solid picks in 2026:
- Ryobi ONE+ 18V AirStrike 18-Gauge Brad Nailer (P320) at around $150. Best value if you already own Ryobi ONE+ batteries. Fires reliably, decent depth adjustment, and the price is hard to argue with.
- DeWalt 20V MAX 18-Gauge Brad Nailer (DCN680) at around $230 (tool only). Better build quality, faster firing, and the depth dial is easier to fine-tune. A strong choice for the homeowner who plans to do multiple rooms.
- Milwaukee M18 FUEL 18-Gauge Brad Nailer (2746-20) at around $260 (tool only). The premium pick. Brushless motor, longest battery life, and the jam-clearing mechanism is the best on the market. Overkill for one baseboard project, but if you see yourself reaching for this tool often, it pays for itself in reliability.
All three prices are for the bare tool without a battery. If you do not already own a battery system, factor in $80 to $120 for a starter battery and charger kit.
A brad nailer is one of those tools that makes you wonder why you waited so long to buy one. The first time you nail up a full room of trim in under an hour with no split wood and no hammer dents, you will understand. Pick one up, practice on scrap, and go make your house look like it was finished by someone who actually knew what they were doing.
Post a Comment for "How to Use a Brad Nailer for Trim Work"
Post a Comment